Yes, you can install a flake epoxy floor in two halves so one bay stays usable while the other cures. The key is planning a clean seam at an existing control joint, allowing 72 hours of full cure on each side before driving on it, and matching your flake broadcast direction across the seam so the join is invisible. A two-stage install adds about 4 days of total project time compared to a single weekend full install, but for a one-car household with no alternate parking, it is the right approach.
Why Most People Want to Split the Job
A standard 2-car garage install runs 2 to 3 active workdays plus 72 hours of vehicle cure time. That is roughly 5 to 6 days where neither car can park inside. For most households with two daily drivers and a driveway, that is no problem. Park on the driveway, deal with weather for a week, done. The problem is when you have one of these situations:
- Only one car, no driveway or street parking is feasible.
- HOA does not allow long-term driveway parking.
- Severe weather window during the planned install (winter snow, summer storms).
- A motorcycle, classic car, or tools that cannot be left exposed.
- Limited budget that does not allow renting alternate parking or storage.
In all of those cases, splitting the garage into two halves and doing them on consecutive weekends keeps you operational the entire time.
Where to Put the Seam
The single biggest mistake on a two-stage install is putting the seam in the wrong place. A seam down the middle of an open floor will telegraph forever. The right seam location follows one of these rules.
- Use an existing control joint. Most slabs are saw cut into rectangles every 10 to 15 ft. These joints are the natural transition point. Tape clean to the joint, fill it after the second pour with flexible polyurea, and the seam disappears.
- Use the natural center of the garage. If you have a 2-car garage with a center support post or column, run the seam through that line.
- Use a long axis perpendicular to the door. Splitting front-to-back at a control joint is visually cleaner than splitting side-to-side.
- Never put a seam under a tire path. Place the seam where the car will not drive over it daily. The seam line gets the most stress where tires sit.
If your slab has no convenient control joint near a logical split, saw cut a 1/4 inch deep relief line where you want the seam, fill it after with polyurea, and let that be your visual break.
How to Mask the Seam Cleanly
The transition between cured side and wet side is the most technical part of a two-stage install. Here is the working sequence.
- Day 1 (Side A install): Grind side A only. Tape a clean line along the control joint with painters tape. Mask down 12 inches into side B with plastic sheeting to catch grinding dust and flake overspray.
- Roll basecoat right up to the tape line. Pull the tape while the basecoat is still wet for a clean edge.
- Broadcast flake. Stop the broadcast about 6 inches short of the seam. Use a small hand-toss in the last 6 inches to feather coverage.
- Topcoat right up to the joint. Use new tape if you want a crisp line, or feather with a smaller roller.
- Cure side A for 72 hours. Side B remains drivable on bare concrete.
- Day 4 (Side B install): Mask the cured side A edge with tape and plastic to protect it from grinding dust. Grind side B.
- Roll basecoat, butting cleanly against the side A coating. A bit of overlap onto cured side A is fine because the new coat will not bond there strongly, and any minor overlap can be sanded after cure.
- Broadcast flake in the same direction and density as side A. This is critical for visual match. If you tossed underhand on side A, do the same on side B.
- Topcoat side B. Run the topcoat over the seam itself, capturing a 6 inch strip onto side A. This creates a single continuous topcoat across the join.
Done correctly, the seam is visible only on close inspection.
Timing the Two Weekends
Two-stage installs work best on back-to-back weekends. Here is the realistic schedule.
- Friday week 1: Grind, prime, basecoat side A. Broadcast flake. Park overnight on side B.
- Saturday week 1: Topcoat side A.
- Sunday through Tuesday: Side A cures. Side B remains bare concrete and parked on.
- Wednesday or Thursday: Side A is fully drivable. Move car to side A.
- Friday week 2: Grind, prime, basecoat side B. Broadcast flake. Park overnight on side A.
- Saturday week 2: Topcoat side B.
- Sunday through Tuesday: Side B cures. Park on side A.
- Wednesday or Thursday: Both sides fully cured and operational.
Total elapsed time: about 10 days. Active labor: 3 to 4 days. Cost is identical to a single-stage install, you just spread the work over two weekends.
Color and Blend Matching Across the Seam
Always buy flake for both stages in a single order. Flake from the same SKU but different production batches can have subtle color variation. Buying one order means one batch and identical color across the seam. Same rule applies to the epoxy and topcoat resin: one purchase, same batch numbers if possible. If you must order in two batches, look at lot codes on the labels and confirm they match.
For the broadcast itself, three rules give the best visual match:
- Same toss height (chest level vs head level changes flake density).
- Same toss direction (underhand at the wall, overhand in the open).
- Same broadcast density (light, medium, or full refusal).
If you broadcast side A at medium density and side B at full refusal, the seam will be obvious. If you broadcast both at full refusal, the seam is invisible.
What to Do With the Center Control Joint Itself
Control joints exist because concrete cracks. They give the slab a designed place to move. If you fill the joint solid with epoxy, you eliminate the slab’s ability to move and you get an uncontrolled crack somewhere else.
Treat the joint correctly:
- Vacuum the joint clean before coating.
- Insert a foam backer rod the depth of the joint minus 1/4 inch.
- Fill the top 1/4 inch with a flexible polyurea or polyurethane joint sealant.
- Tool the sealant level with the slab.
- Coat over the joint normally during the topcoat stage so the seam is hidden but the joint can still flex.
This is the same rule for any flake floor, but it matters more on a two-stage install because the joint is literally your seam.
When to Skip the Two-Stage Approach
Two scenarios where I would push you to single-stage instead. First, if your slab has no usable control joint near the right split point. Forcing a seam through an open floor is a long-term aesthetic compromise. Second, if you can borrow a driveway for a week. Single-stage is faster, simpler, and yields a slightly better visual result because there is no seam at all. For most one-car households, though, the two-stage method is a smart compromise that keeps you mobile during the project.
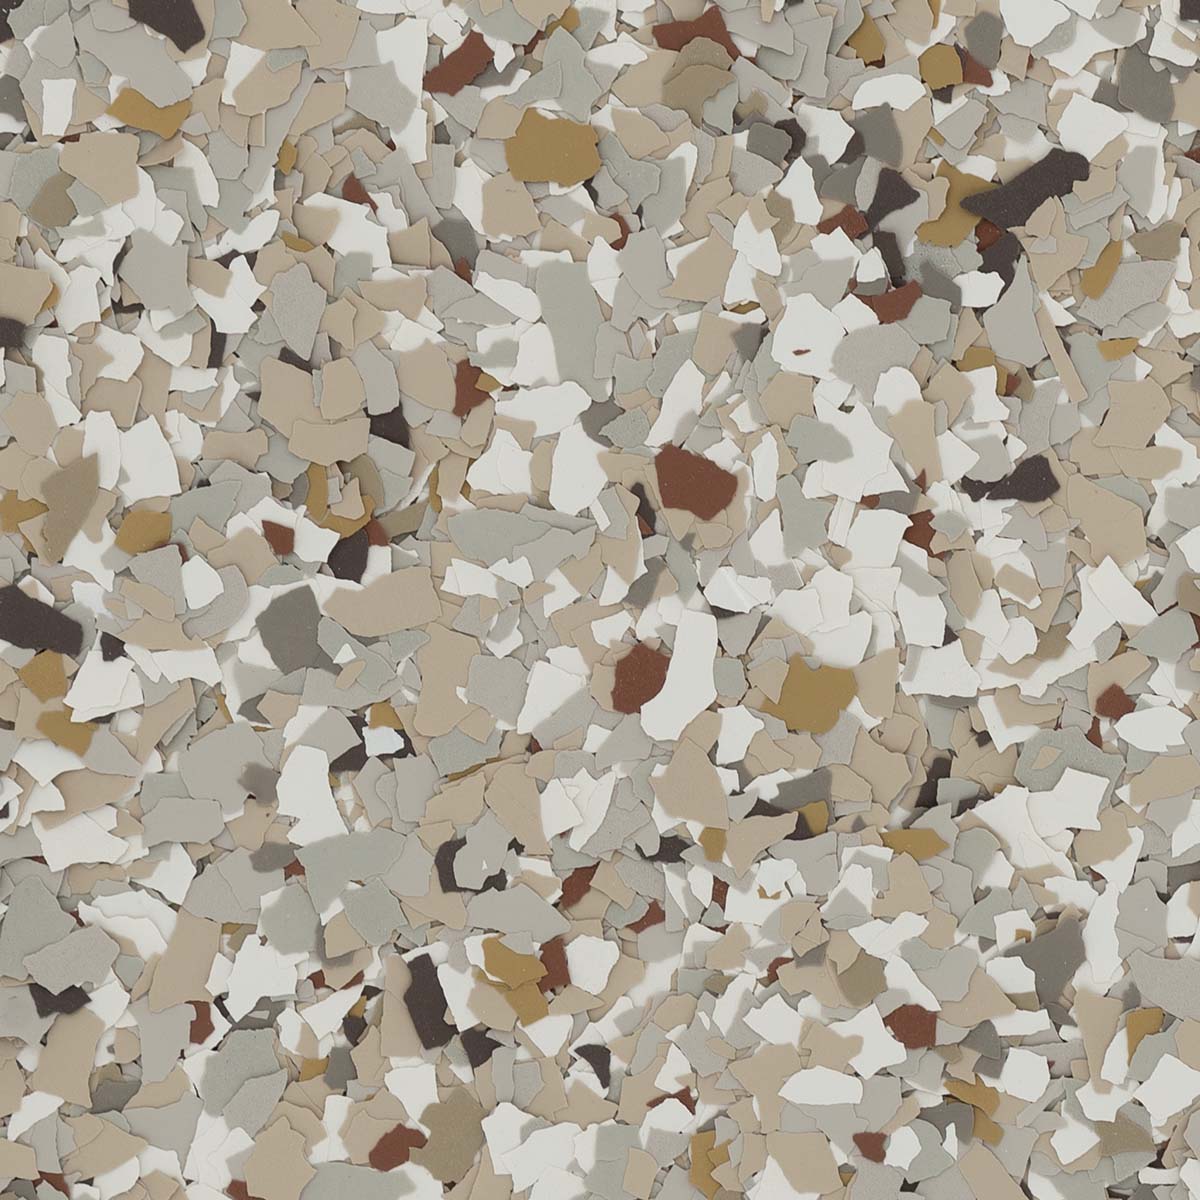
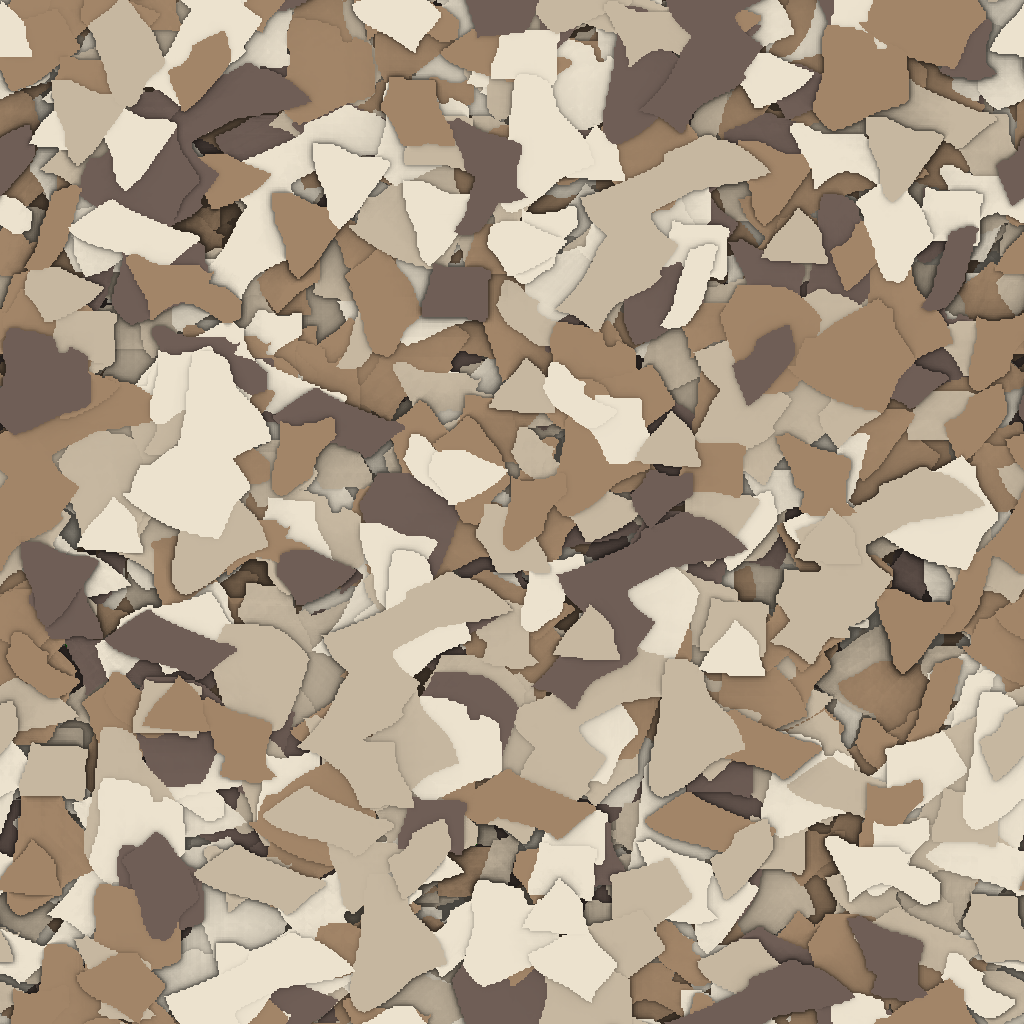
If you are picking flake for a two-stage job, I would lean toward a multi-chip blend rather than a solid color. Solid colors show the seam more readily because there is no chip-to-chip variation to disguise the transition. Multi-color blends from the Amazing Blends line hide a seam better than any solid SKU.
Plan the seam, buy the flake in one order, match the broadcast technique, and the two-stage install gives you a continuous-looking floor with zero parking interruption. That is a tradeoff worth making.