
Fix hairline cracks under 1/16 inch wide with a 100% solids epoxy crack filler troweled flush, fix wider non structural cracks up to 1/2 inch with a polyurea or polyaspartic joint filler, and fix pitting and spalling with a fast set polymer modified patch compound. Grind every repair flush after cure, profile to CSP 2 to CSP 3, and only then coat. Skip the latex caulks and concrete crack tubes from the hardware store, they shrink, flex, and telegraph through the topcoat within 6 months.
Identify What You Are Actually Looking At
Not every crack needs the same fix. Walk the slab with a flashlight at a low angle and sort what you see into three buckets.
- Hairline cracks: Under 1/16 inch wide, surface only, no displacement. Common in concrete over 5 years old. Cosmetic, not structural.
- Working cracks: 1/16 to 1/2 inch wide, may have slight edge spalling, no vertical displacement. Caused by shrinkage or minor settlement.
- Structural cracks: Over 1/2 inch wide, or any crack with vertical displacement over 1/8 inch, or cracks that run wall to wall in a straight line. These are a foundation conversation, not a coating one.
Pitting and spalling are separate. Pitting is small craters in the surface from freeze thaw, salt, or original finishing problems. Spalling is larger flaking sections where the top 1/4 inch has lifted. Both get filled with patch compound, not crack filler. Map every crack with chalk before you start. You will find at least twice as many as you noticed at first glance, especially under where the cars normally park.
Filling Hairline Cracks
For cracks under 1/16 inch, use the same 100% solids epoxy you are coating with, or a dedicated crack repair epoxy like Sika 31 or Rust Oleum Concrete Patch. Open the crack slightly with a 4 inch angle grinder and a crack chasing wheel. Sounds aggressive, but a V groove gives the filler something to lock into. Vacuum the dust, wipe with acetone, then trowel the epoxy in with a putty knife. Overfill by 1/16 inch, because epoxy shrinks slightly as it cures. Sand or grind flush after 24 hours.
Cost: about $25 for a 22 oz tube of crack epoxy, fills 30 linear feet of hairline crack. For a typical garage with 20 to 40 feet of hairline cracks total, one tube is enough. If the cracks are mapped out densely (a sign of slab age or finishing problems), buy two and have a spare for the next time the slab moves.
Filling Working Cracks 1/16 to 1/2 Inch
For wider cracks, polyurea joint fillers cure in 30 to 60 minutes, stay slightly flexible, and bond to concrete better than epoxy on cracks that may move slightly with seasonal temperature changes. Products like Roadware 10 Minute Concrete Mender or SealBoss 1500 work well.
- Chase the crack with a diamond blade or crack chasing wheel to 1/2 inch deep minimum.
- Vacuum thoroughly. Any dust left in the crack ruins the bond.
- Pour the polyurea into the crack until it crowns slightly above the surface.
- Wait 30 to 60 minutes, then grind flush with a 4 inch grinder and a 30 grit diamond cup.
Cost: about $45 per cartridge of polyurea, fills 12 linear feet at 1/2 inch deep. Polyurea is the right call over epoxy here because epoxy is rigid and a crack wider than 1/16 inch is wide enough to move with thermal expansion. Rigid filler over a moving crack creates a new crack right next to the old one within a year.
Patching Pits and Spalled Areas
For pits under 1/4 inch deep, the epoxy basecoat will self level into them as long as you broadcast flake heavily. No patch needed. For pits between 1/4 inch and 1 inch deep, and for spalled areas up to 1 inch deep, use a fast set polymer modified patch like Quikrete Fast Set Patcher or Rapid Set Mortar Mix.
- Chip out any loose edges with a cold chisel until you hit solid concrete.
- Wet the area with water, then pour off the excess. Dry concrete sucks moisture out of the patch and weakens it.
- Trowel the patch in, overfilling by 1/8 inch.
- Steel trowel smooth as it firms up, about 15 to 20 minutes in.
- Wait 4 to 6 hours, then grind flush.
For larger spalls over 1 inch deep, use a self leveling underlayment. It costs more but flows into low spots and gives you a flat coatable surface. Plan on $50 for a 50 lb bag, which covers about 35 sq ft at 1/4 inch depth. Self levelers need a primer coat on the existing concrete, so factor an extra step. Skip the bagged top mix from the hardware store for anything over 1/4 inch deep, those products are sand mixes that crack and pop out of pits within a year.
Cure Times Before Coating
Patience here is what separates a 15 year floor from a 3 year floor. Real cure times, not the optimistic numbers on the package:
- Epoxy crack filler: 24 hours minimum before grinding, 48 hours before coating
- Polyurea joint filler: 4 hours before grinding, 8 hours before coating
- Polymer modified patch: 6 hours before grinding, 24 hours before coating
- Self leveling underlayment: 12 hours before grinding, 24 to 48 hours before coating
Garage temperature matters. Below 60 F, double these times. Below 50 F, do not patch at all, wait for warmer weather or heat the space to 65 F minimum for the full cure window. Humidity matters too. Polyurea and polyaspartic systems are sensitive to moisture during cure. Run a dehumidifier if your garage is over 75% RH during patching.
What Happens If You Skip the Prep
Crack and pit repairs are where most DIY floors fail. The coating itself is usually fine, but every crack you covered without filling will reflect through the new surface within 6 to 12 months as a visible line. Every pit you ignored will show as a low spot or a divot. Worse, water and salt will continue to work in through those weaknesses, and the coating will start to lift from the edge of the original crack outward. A $40 tube of polyurea and a couple hours of grinding is the difference between a floor that lasts 5 years and one that lasts 20.
Get the Slab Coatable
Once your repairs are cured and ground flush, do one more vacuum pass and one acetone wipe to lift any dust from the patch compound. Run your hand across the slab. Any roughness, any edge you can feel, will show in the final coating. Smooth it now, not later. Take photos of each repair before you coat. If a repair ever fails (rare but possible on a slab that is still settling), you want a record of where it was so the touch up matches in flake density and color.
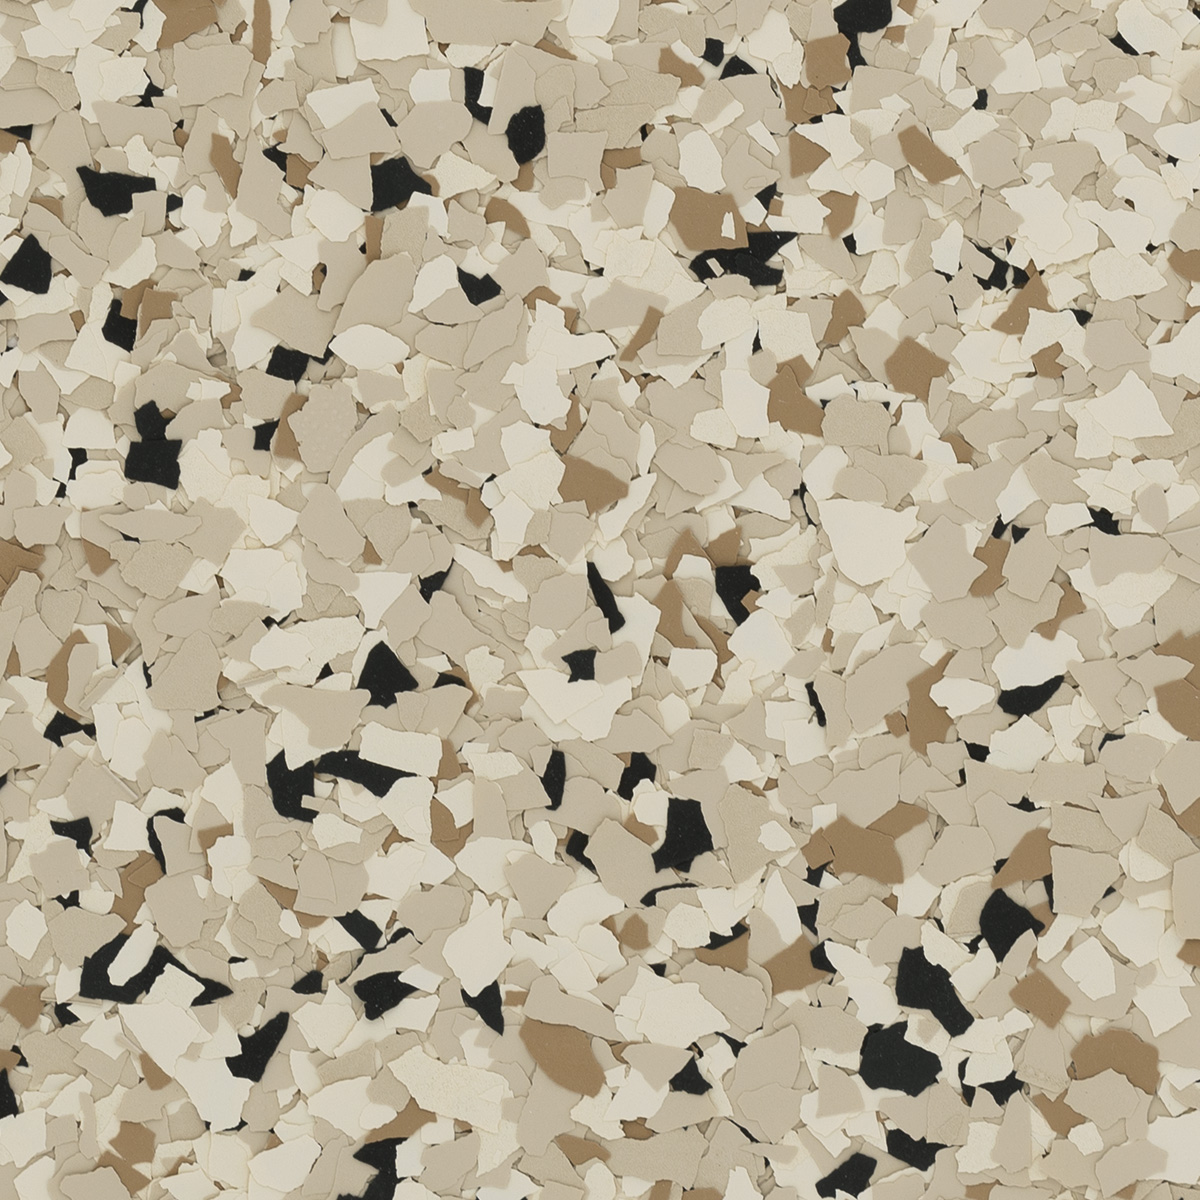
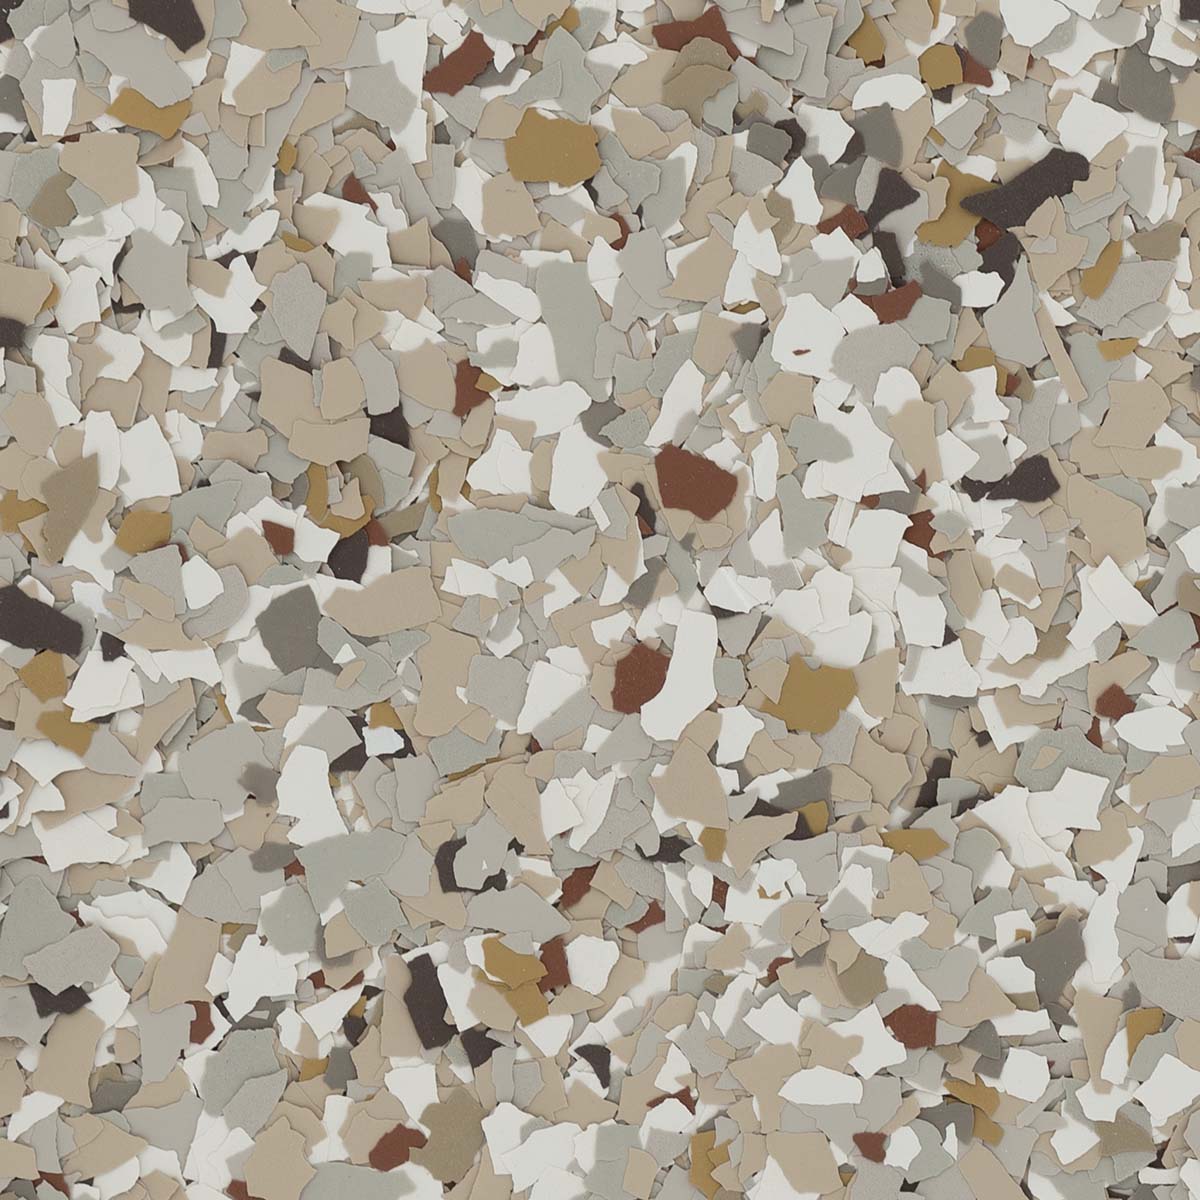
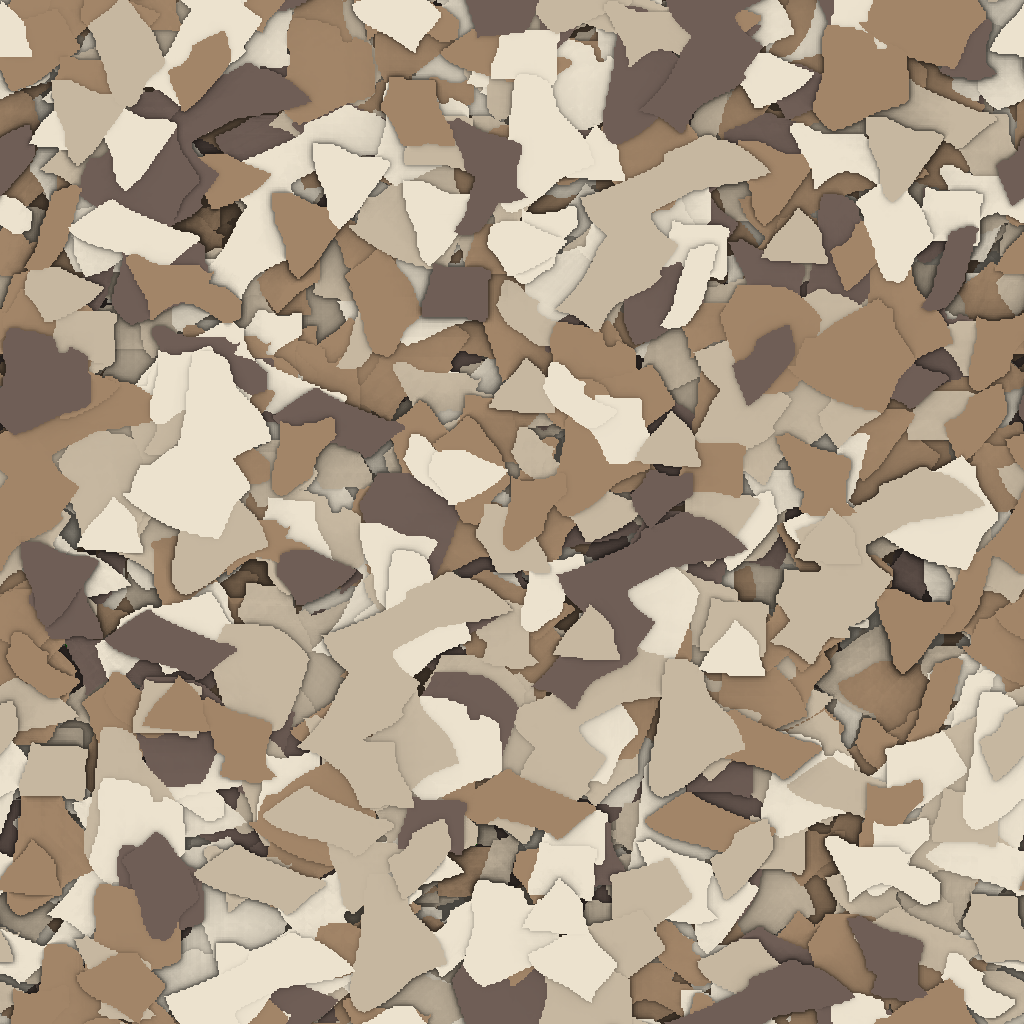
When the floor passes the hand test, you are ready to lay down the basecoat and broadcast flake. The Amazing Blends color line hides minor imperfections well because the flake breaks up the visual field, but it cannot hide a 1/2 inch crack you did not fill. Spend the extra half day on crack and pit work, and the floor you lay on top will hold its appearance for 15 plus years. Do the prep, then enjoy the easy part.