Flake epoxy works on a slab with radiant in-floor heat as long as the system is turned off for at least 48 hours before install, kept off during cure for 72 hours, and then ramped back up no faster than 5 degrees F per hour. Modern 100 percent solids epoxies are rated for sustained slab temperatures up to 140 degrees F, well above any residential radiant system. The catch is differential expansion. The slab moves when heated, the coating moves with it, and a fast ramp from cold to hot will stress the bond. Slow and steady is the rule.
Why Radiant Heat Adds Complexity
A standard slab sits at whatever the ambient ground temperature is, usually 55 to 70 degrees F. A radiant slab cycles between roughly 65 and 95 degrees F as the system fires and cools. That temperature swing causes the concrete to expand and contract slightly. Coefficient of thermal expansion for concrete is around 5.5 microstrains per degree F. Over a 30 ft slab, a 30 degree swing produces about 0.06 inches of total movement. That sounds tiny, but it is enough to stress a coating that was installed at one temperature and cured at another. The solution is to install at a stable, mid-range slab temp and let the cured coating handle the cycle from there.
Pre-Install Checklist for Radiant Slabs
Run through this list before you grind, prime, or coat.
- Turn the radiant system off 48 to 72 hours before install. Let the slab equalize to ambient air temperature.
- Verify slab temperature is between 60 and 75 degrees F. Use an IR thermometer at multiple spots across the floor. The middle and edges should be within 3 degrees of each other.
- Check slab moisture. Run a calcium chloride test even on a radiant slab. The heat will dry the surface but a poorly installed system may still have vapor pressure.
- Inspect for hot spots. If a tube is too close to the surface, you can see a slightly different color or texture in the concrete. Note these zones.
- Confirm the system is bled and pressurized. Once you coat the slab, you do not want to discover a leak that requires saw cutting.
- Map the tube layout if you have it. If anchor bolts or fasteners ever get added later, knowing where the tubes run prevents an expensive mistake.
How to Install Step by Step
The actual coating process is almost identical to a non-radiant slab, with three differences. Here is the order of operations.
- Diamond grind to CSP 2 to 3. Standard prep.
- Fill cracks and control joints with a flexible polyurea filler. Radiant slabs see more expansion at control joints than dry slabs, so a flexible filler is non-negotiable.
- Apply a 100 percent solids epoxy primer at 6 to 8 mils. This locks down dust and gives the basecoat a clean substrate.
- Pigmented epoxy basecoat at 8 to 10 mils. Use a slow-cure formula if the slab is on the warmer end of the 60 to 75 F range. A hot pot of epoxy will flash on a warm slab and ruin your working window.
- Full flake broadcast. Refusal rate, same as a standard install.
- Polyaspartic or polyurethane clear topcoat at 6 to 8 mils. Polyaspartic handles thermal cycling better than standard polyurethane.
Total install time is around 2 to 3 days. The radiant system stays off the entire time and for 72 hours after the final coat is laid.
How to Ramp the Heat Back On
This is the step most installers and homeowners get wrong. They finish the floor, wait a day, and crank the thermostat back to 70. The slab heats 15 to 20 degrees in a few hours, the coating has not fully cured to its final hardness, and you get hairline stress cracks or in worst cases delamination at the edges. The right procedure is gradual.
- Wait 72 hours after the final topcoat before turning the system on at all. Full chemical cure for polyaspartic is 5 to 7 days, but 72 hours gets you to about 80 percent mechanical hardness.
- Set the system to its lowest active setpoint. For most floor radiant systems that is around 65 to 68 degrees F.
- Increase the setpoint no more than 5 degrees F per hour. Over a 24 hour period you should be able to reach your normal operating temperature.
- For the first heating season, avoid rapid cycling. If your system has an outdoor reset control, set it to the longest response time available so the slab does not see frequent fast swings.
Temperature Ratings That Actually Matter
Manufacturers list service temperature ranges that confuse a lot of homeowners. Here are the numbers worth knowing.
- 100 percent solids epoxy: Continuous service to 140 degrees F dry. Intermittent to 160 F.
- Polyaspartic topcoat: Continuous service to 250 F. Way above anything a radiant system will produce.
- Vinyl flake (Torginol): Stable to 200 F, with no color shift.
- Residential radiant slab surface temp: Typically 75 to 85 F at the floor surface, with floor heating output around 25 BTU/hr/sqft.
You have a wide margin. The risk is not the coating melting or scorching. The risk is differential expansion at install time and rapid ramp cycling. Manage those two and the system runs for decades.
Where Radiant Heat Floors Shine
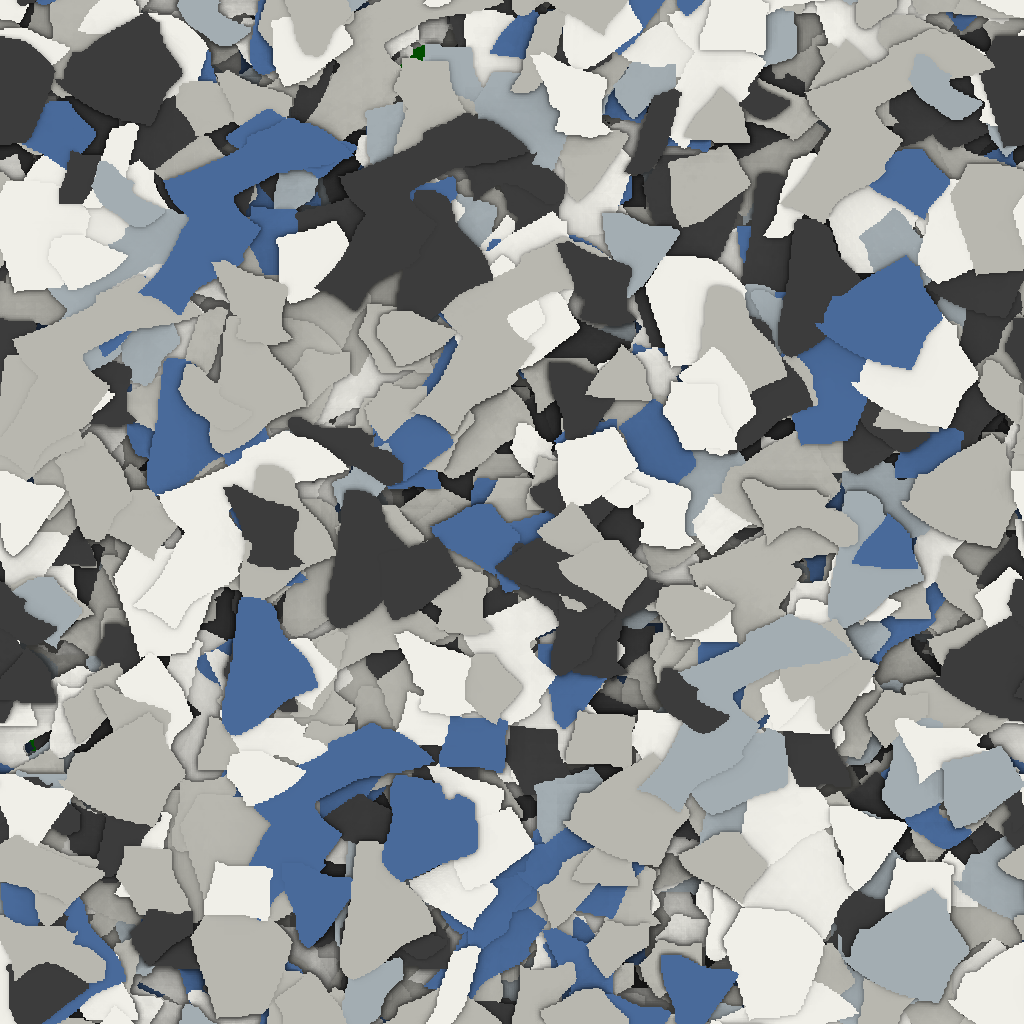
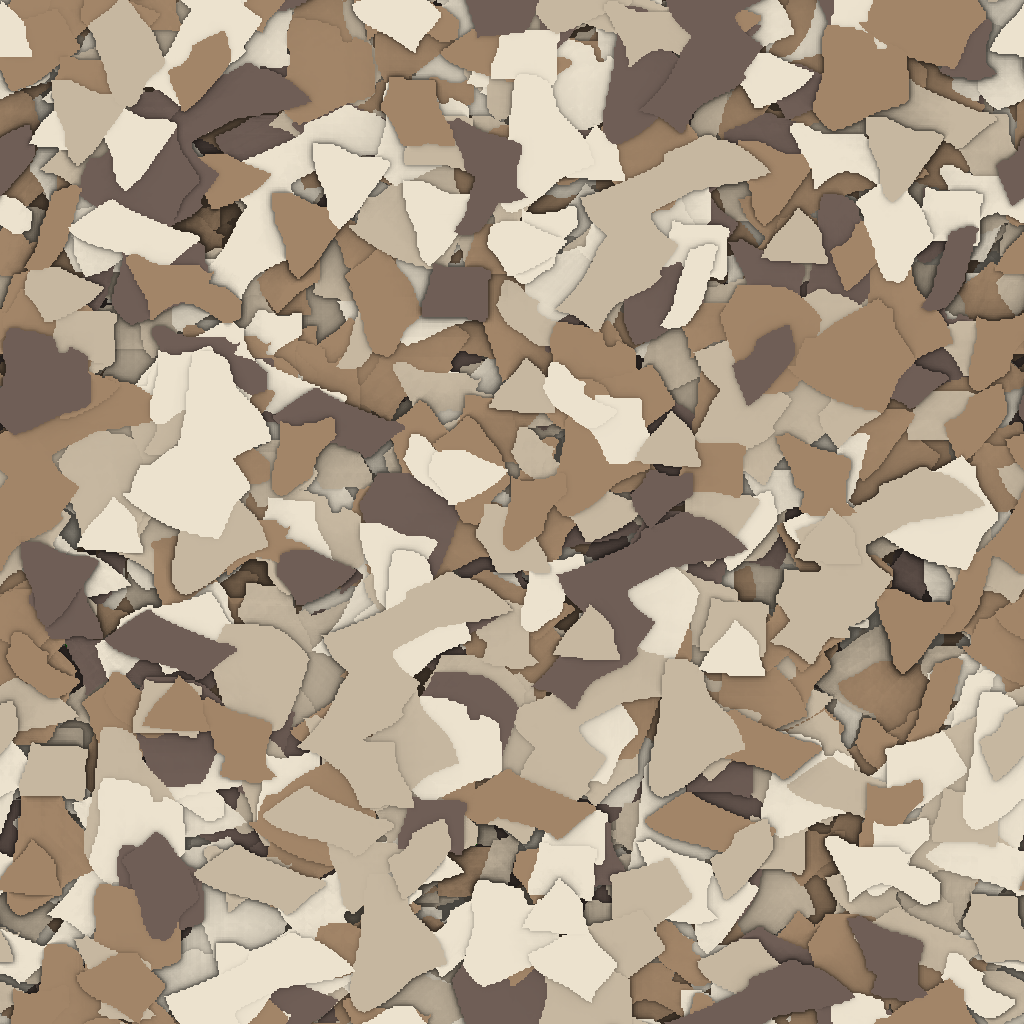
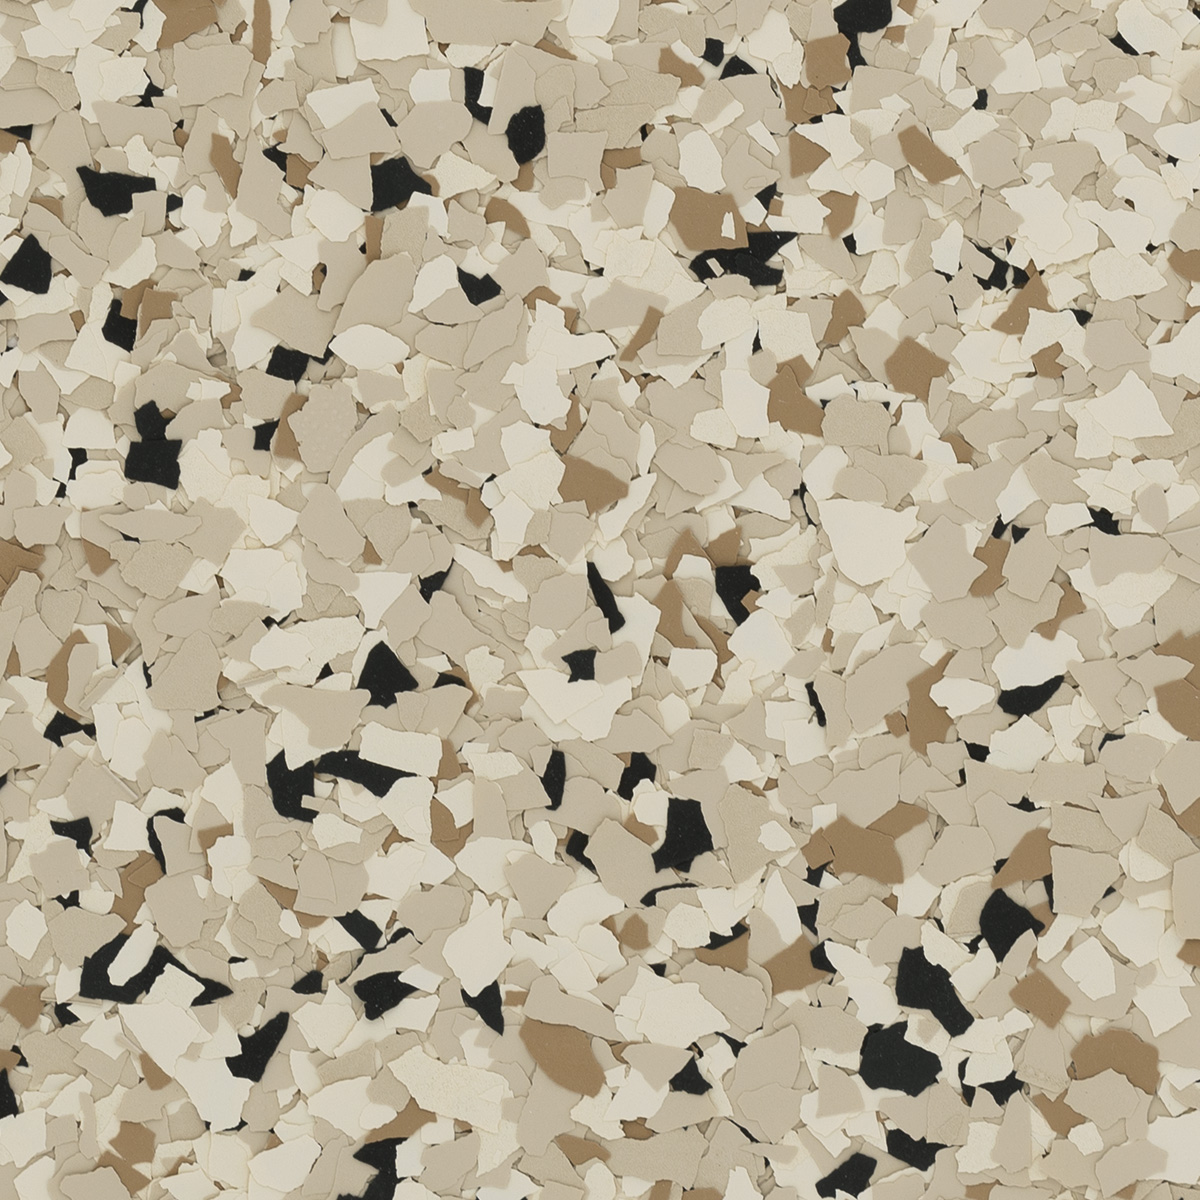
The single best use case for flake epoxy over radiant heat is a finished basement or workshop where you want a warm, durable surface that does not feel like concrete underfoot. Tile cracks at control joints over radiant systems. Carpet kills heat transfer. Engineered wood needs a special low-profile radiant rated underlayment. Epoxy flake bonds directly to the slab, transfers heat efficiently because it is thin (25 to 35 mils total), and is the most durable finish in this category. For workshop or hobby spaces, a mid-tone blend from Amazing Blends gives a balance of warmth and practicality.
Long Term Performance Notes
A flake floor over radiant heat behaves slightly differently from the same floor over a passive slab. The differences are worth understanding before install so you do not misread normal behavior as failure.
- Slight gloss reduction in tube paths. Where heating tubes run closest to the surface, the floor can be 5 to 10 degrees F warmer than the rest. Over years, that area shows a barely visible matte stripe under raking light. It is cosmetic only.
- Faster cleaning cure. Mopped water dries roughly twice as fast on a heated slab. Streak-free mopping technique matters more.
- Surface stays comfortable underfoot. Bare feet do not feel cold on a radiant flake floor the way they do on tile. This is the biggest livability win.
- Slightly accelerated topcoat refresh schedule. Plan for a refresh coat at year 8 to 10 instead of 10 to 12.
- Avoid placing rugs over heated zones long term. Rugs trap heat and create local hot spots that can soften a topcoat at the edges.
None of these are dealbreakers. They are just the normal characteristics of resin over a heated slab.
If you have radiant heat under your slab, treat the install like any other resin floor with one extra rule: slow the temperature changes at the start and at the end. That single discipline is the difference between a 20-year floor and a coating you have to redo in 18 months.