Peeling epoxy is a bond failure between the resin and the concrete substrate. If less than 10% of the floor is peeling, you can spot repair: cut out the loose epoxy, grind the exposed concrete to CSP 3, prime, and re-flake to blend. If more than 10% is peeling or the floor was acid etched only (no diamond grind), the entire coating needs to come up, because the underlying bond is failing everywhere and you will be chasing peels every 3 months. The honest answer most of the time is grind and start over.
Why epoxy peels: the four real causes
Diagnose before you fix. The wrong repair on the wrong cause is wasted weekend:
- No mechanical profile. The slab was acid etched or pressure washed instead of diamond ground or shot blasted. Etch only opens the top 1 to 2 mils. Diamond grinding to CSP 3 opens 5 to 8 mils, which is what epoxy needs to mechanically key.
- Moisture vapor transmission. The slab is pushing water vapor up through the concrete (common in slabs without a vapor barrier, basements, and slab-on-grade builds in clay soil). Vapor pressure exceeds the adhesion strength of the epoxy and pops it off. Test with a calcium chloride test or a relative humidity probe.
- Sealed concrete. A previous owner applied a clear concrete sealer in 1998 and nobody knew. The new epoxy bonded to the sealer, not the concrete, and the sealer is now peeling off the slab.
- Contamination. Oil, silicone, or curing compound on the slab prevented bond in spots. This shows up as random peeling, often near oil stain history.
How to identify your cause and test for moisture
Pull up a peeled chip and look at the bottom of it:
- Bare gray concrete dust on the bottom of the chip. You ripped off the top layer of concrete with the epoxy. Bond was fine. Substrate failed. Cause is usually moisture vapor or weak surface concrete (laitance).
- Clean smooth concrete-side surface, no dust. Adhesion failure. The epoxy peeled off cleanly. Cause is no profile, sealer, or contamination.
- Chip has white powder on its bottom. Efflorescence or calcium salts from moisture migration. Confirm with a calcium chloride test.
- Chip has a glossy clear film on its bottom. Previous sealer. The new epoxy bonded to the sealer, not the concrete.
Then check the slab where the chip came off. Is it dark and damp 2 hours after the room is dry? Moisture issue. Is it bone dry and shiny? Sealer or no profile.
Before deciding spot repair vs full removal, run a calcium chloride test or a plastic sheet test. The plastic sheet version is free and takes 24 hours: cut a 24 inch by 24 inch piece of clear polyethylene sheeting (4 mil minimum), tape it to the bare concrete (in a peeled area) with duct tape on all four sides, seal the edges fully, wait 24 hours, then lift the plastic. If condensation has formed on the underside, you have a moisture vapor problem. A light fog after 24 hours is borderline (3 to 5 lb / 1000 sq ft / 24 hr). Heavy droplets are a serious problem (10+ lb). Any moisture vapor over 5 lb requires a moisture-tolerant primer or a vapor barrier system before you re-coat, or the new floor will peel just like the old one.
Spot repair: less than 10% of floor area peeling
This works only if the rest of the floor is genuinely well bonded. Tap the edges of intact areas with a quarter; a solid floor sounds tight, a delaminating floor sounds hollow. Map hollow areas and treat them all, not just the obvious peels.
- Cut out the loose epoxy. Use a sharp utility knife to score around peeling zones. Lift with a 6 inch drywall scraper. Keep cutting back until the epoxy is firmly bonded to the concrete.
- Grind exposed concrete. Use a 4 inch handheld angle grinder with a 30 grit diamond cup wheel. Profile to CSP 3 (rough like 40 grit sandpaper). Feather the edges of the surrounding intact epoxy by 2 inches on all sides.
- Vacuum and alcohol wipe. Clean to bare clean concrete and dust-free epoxy edges.
- Test for moisture. Tape a 12 inch by 12 inch piece of clear plastic sheeting to the concrete with edges sealed. Wait 24 hours. If condensation forms under the plastic, stop and address moisture before continuing.
- Prime the bare concrete. Use a moisture-tolerant epoxy primer or a 100% solids epoxy at 8 to 10 mils. Feather into the surrounding cured edges.
- Broadcast flake. Throw flake from waist height while the primer is wet. Broadcast to refusal.
- Cure, scrape loose flake, topcoat the whole floor. Re-clear the entire floor with polyaspartic to blend the patch.
Full removal: more than 10% peeling or moisture issues
If the floor is peeling everywhere, or if moisture testing flags a vapor problem, the only path is full removal:
- Mechanical removal. Rent a 10 inch walk-behind concrete grinder with PCD (polycrystalline diamond) tooling for the bulk removal, then switch to 30 grit metal-bond diamonds for the profile. PCD tools eat epoxy without loading up. Rental is $150 to $250 per day plus tooling.
- Vacuum dust shroud and HEPA vac. Concrete dust is a silicosis hazard. Wear a P100 respirator.
- Address the underlying cause. If moisture is the problem, apply a moisture vapor barrier primer (epoxy or polyurea designed for 25 lb MVT). If it was sealed concrete, the grind removes the sealer. If it was contamination, the grind plus a TSP wash handles it.
- Rebuild the system. 100% solids epoxy primer, flake to refusal, polyaspartic topcoat. This time on properly prepared substrate.
Honest numbers for a 400 sq ft 2-car garage: grinder rental and diamond tooling $250 to $400, disposal of old epoxy debris $50, moisture vapor primer if needed $200 to $400, epoxy primer $150 to $250, flake (40 lb box, full refusal broadcast covers 160 sq ft, so 2 to 3 boxes) $200 to $360, polyaspartic topcoat $400 to $700. Total: $1250 to $2150 in materials. That is brutal but it is the truth. The good news: a properly prepped, properly primed flake floor lasts 15 to 25 years.
When to call a pro and what to do next
Call a pro if any of these are true: the floor is over 1000 sq ft, moisture testing shows vapor transmission over 5 lb / 1000 sq ft / 24 hr, the slab has multiple previous coatings stacked, or the garage is fully built out and you cannot run a grinder without damaging trim or cabinets. A pro grind-and-recoat on a 2-car garage typically runs $4 to $7 per sq ft. That is $1600 to $2800 for a 400 sq ft bay. DIY material cost is roughly half that, but the labor swap is 25 to 35 hours of your weekend including prep, removal, and the multi-day cure cycle.
The single most common mistake on epoxy floors is skipping the grind. Do not skip the grind. Etch is for raw new concrete that has never been driven on. For any real garage with 5+ years of life, diamond grinding is the only prep that works reliably. If you are starting from scratch on a clean slab, the failure rate drops near zero with the right system.
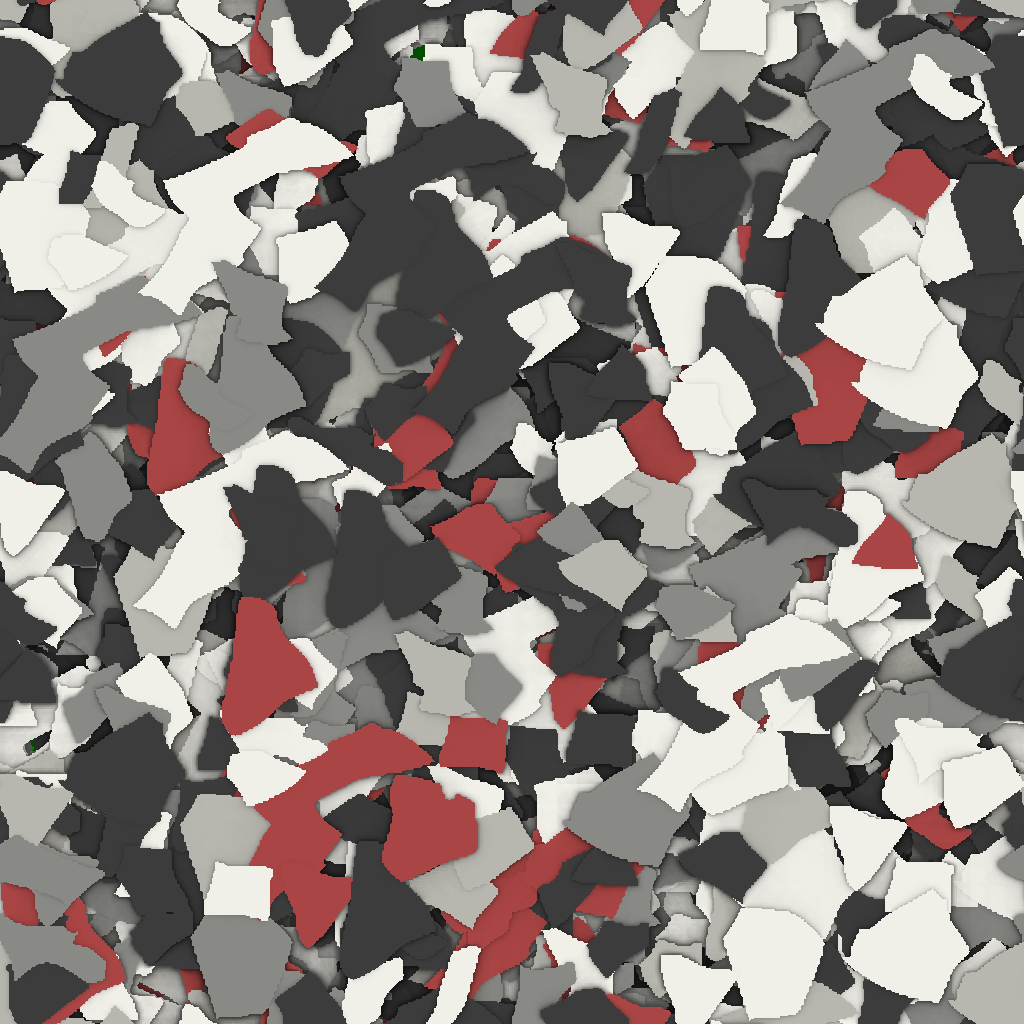
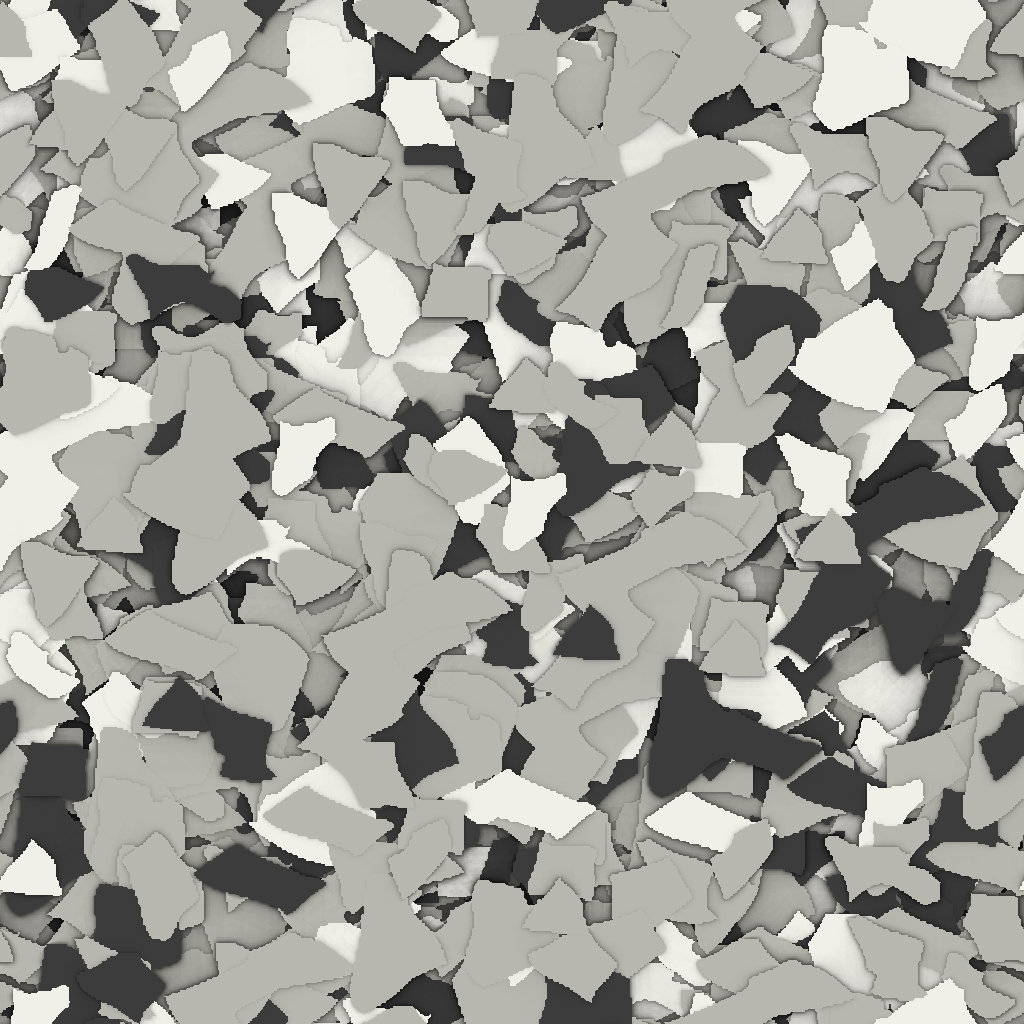
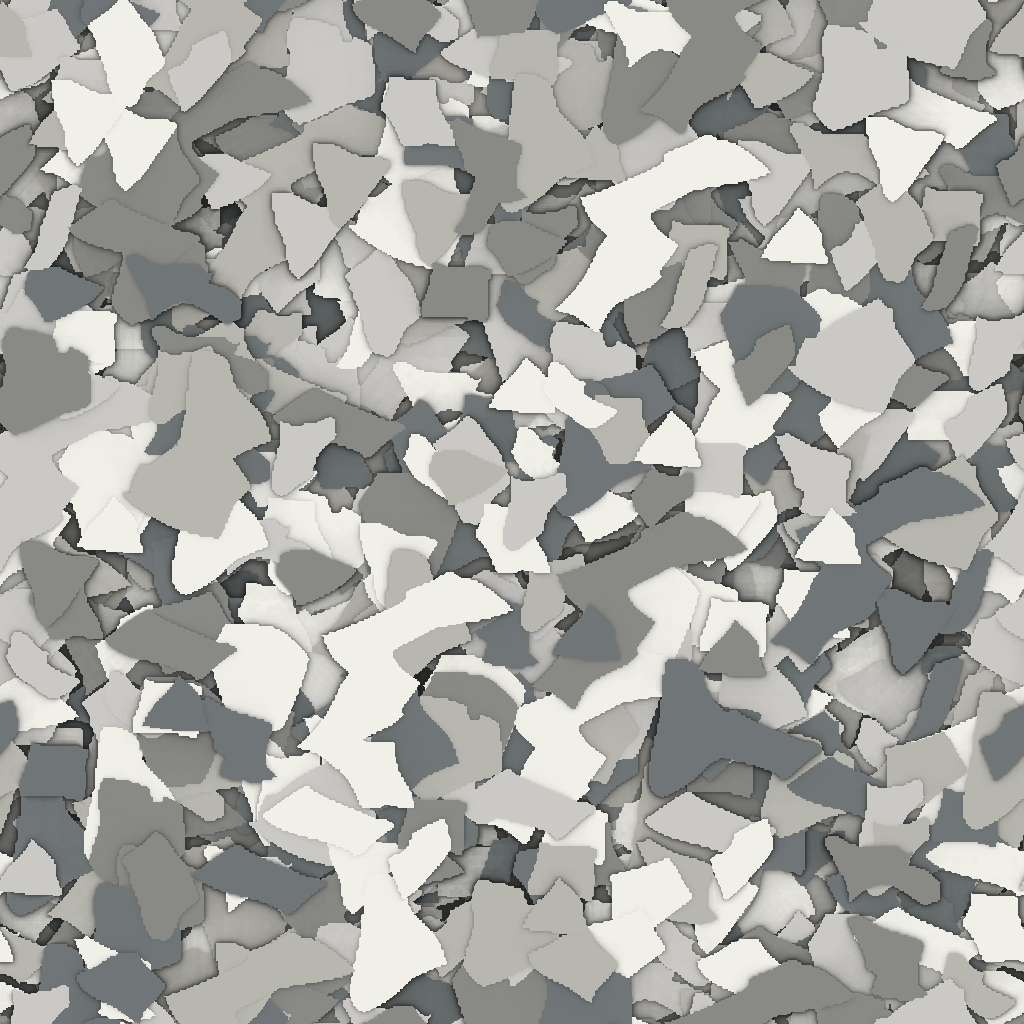
Pick a flake blend from the Amazing Blends line (Stonehenge and Sealmasters are the most forgiving on color match for repairs), or build a one-off with the custom color picker. Order a 40 lb box for a 2-car garage so you have margin for full refusal broadcast plus a small stash for future patches.