Patch bald spots in a flake floor by lightly sanding the bare area with 120 grit, vacuuming, rolling fresh epoxy onto the spot at 8 to 10 mils, and broadcasting flake into the wet epoxy from waist height until the spot refuses more chips. Wait 24 hours at 70°F, scrape loose flake, vacuum, then re-topcoat the whole floor (or at minimum the patched zone plus a 3 foot feather) with polyaspartic or polyurethane to blend the sheen. Done correctly, the patch disappears at 6 feet of viewing distance.
Why bald spots happen in the first place
Bald spots are caused by one of five things. Diagnose before you patch, or you will redo the work in 30 days:
- Under-broadcast. You ran out of chips, or you broadcast from too low and the flake landed flat instead of standing on edge. The base coat skinned over before enough flake hit it.
- Tacky base coat. Epoxy started gelling in the bucket and you rolled a thin, sticky film. Chips bounced off instead of embedding.
- Wet vacuum. Someone vacuumed loose flake before the base coat fully cured, pulling embedded chips out of the resin.
- Tire scuff. Heavy turning under a hot tire ripped flake out of a soft topcoat in the first 30 days. This is a topcoat problem, not a broadcast problem.
- Edge starvation. The roller did not carry enough material into the last 2 inches before a wall, leaving a thin band that did not hold chips.
For the patch to last, you have to know which cause you are fixing. A hot-tire pickup spot needs a tougher topcoat, not just more chips. An edge starvation patch needs a better roller technique on the next pour.
What you need before you start
Pull together these materials before you start. Running to the store mid-cure ruins the job:
- Same epoxy base coat brand and color used originally, mixed at the spec ratio.
- Same flake blend, ideally from the same lot. Color matched blends from a different lot can shift slightly.
- 120 grit sanding screen or pad for a random orbit sander.
- Shop vac with a HEPA bag.
- 9 inch 3/8 inch nap roller and a small foam mini-roller (4 inch).
- Denatured alcohol and clean white cotton rags.
- Polyaspartic or polyurethane topcoat for the final re-clear.
- Painter’s tape (blue, 2 inch) to mask off the patch zone if you want clean edges.
- Headlamp for raking light to see what you are doing.
Step by step patch procedure
Work at 65°F to 80°F slab temperature, with humidity under 70%. Outside that window, epoxy cure time gets unpredictable and the patch will telegraph through the topcoat.
- Scuff sand the bald zone plus 6 inches around it. Use 120 grit on a random orbit sander. You are not trying to remove material, just kill the gloss so the new coat bonds chemically and mechanically. About 60 seconds per square foot.
- Vacuum twice. Once with the brush attachment, once with a clean microfiber pass. Then wipe with denatured alcohol on a white rag. The rag should come up clean.
- Mix a small kit. For a 1 to 4 sq ft patch, a 16 oz batch is plenty. Use the manufacturer ratio exactly, mix 3 minutes with a paddle on a low-speed drill, then box (pour into a second clean bucket and re-mix 30 seconds) to eliminate unmixed material on the sides.
- Roll the patch. Use a mini-roller for spots under 2 sq ft, full size roller for larger areas. Lay the epoxy at 8 to 10 mils wet. The patch zone should look glossy and wet, not dry-rolled.
- Broadcast immediately. Within 2 minutes of rolling, throw flake from waist height (about 4 feet up). Toss handfuls in an arc so chips fall straight down and land on edge. Keep broadcasting until you cannot get more chips to stick.
- Walk away for 24 hours. Resist the urge to vacuum or touch it. The epoxy needs to grab the chips at full strength.
- Scrape and vacuum loose flake. Use a 6 inch drywall knife held at 45 degrees to pop the loose chips. Sweep, then vacuum. The patch should now feel rough and uniform.
- Re-topcoat. This is the step most DIYers skip, and it is why patches show. Scuff the patch and surrounding 3 to 6 feet with 120 grit, vacuum, alcohol wipe, then roll polyaspartic or 2K polyurethane over the entire floor. One clear coat at 4 to 6 mils makes the sheen blend.
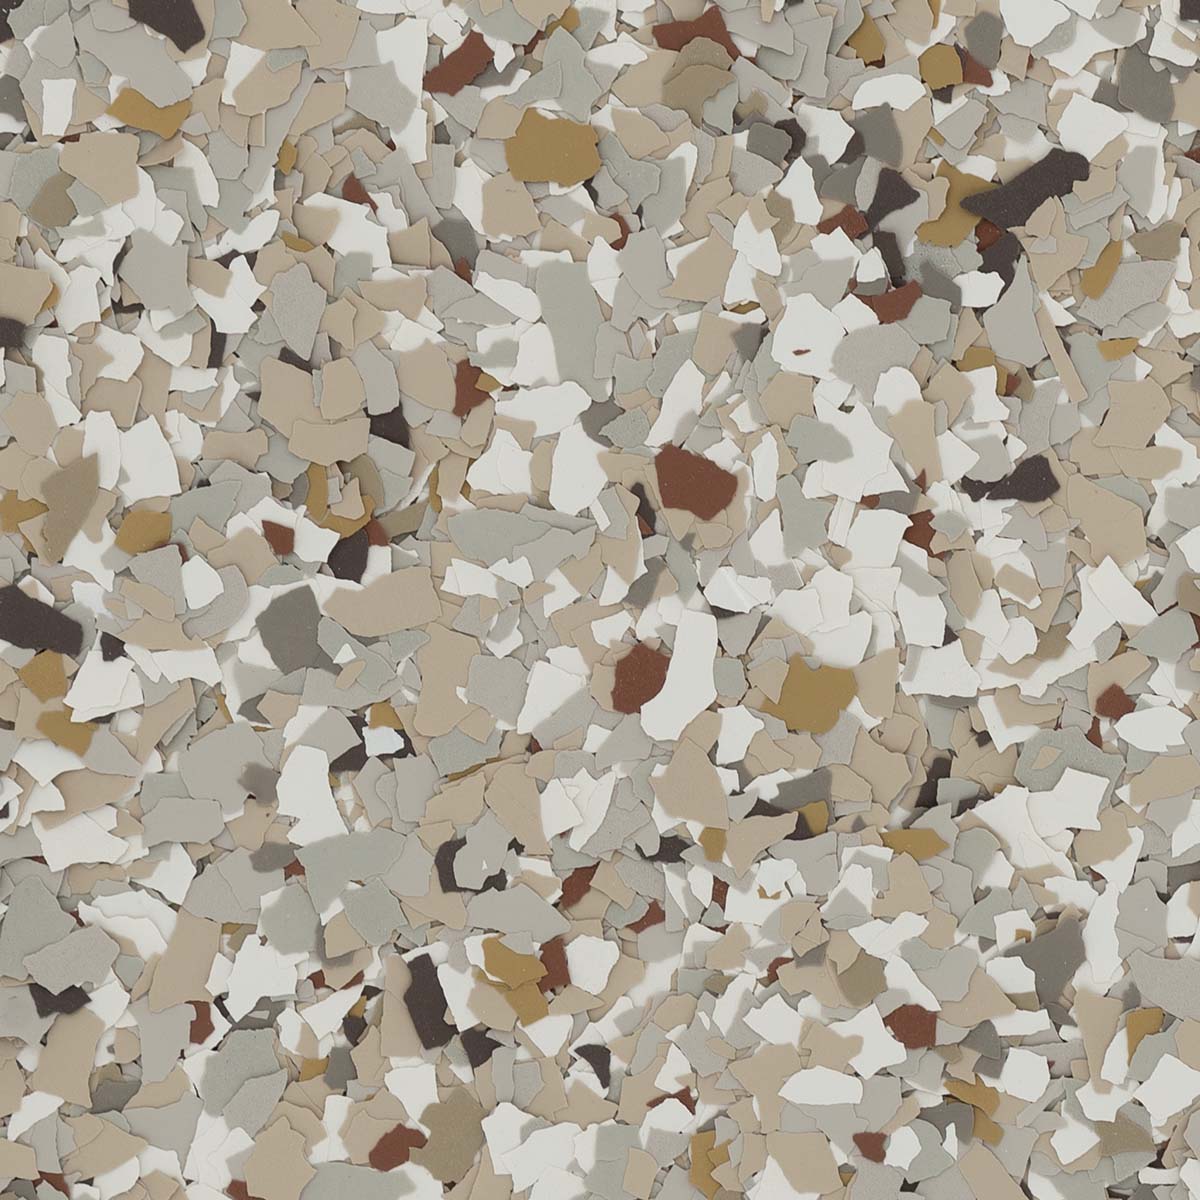
Color matching and how much flake to buy
If the original flake brand or lot is unavailable, build a custom blend that approximates the existing pattern. The custom color picker previews mixes from 140 Torginol chips, which lets you eyeball a 10% to 20% off-match before ordering. For a small patch, a near-match plus a full re-topcoat is invisible. For a whole-floor flake change, you are repouring, not patching.
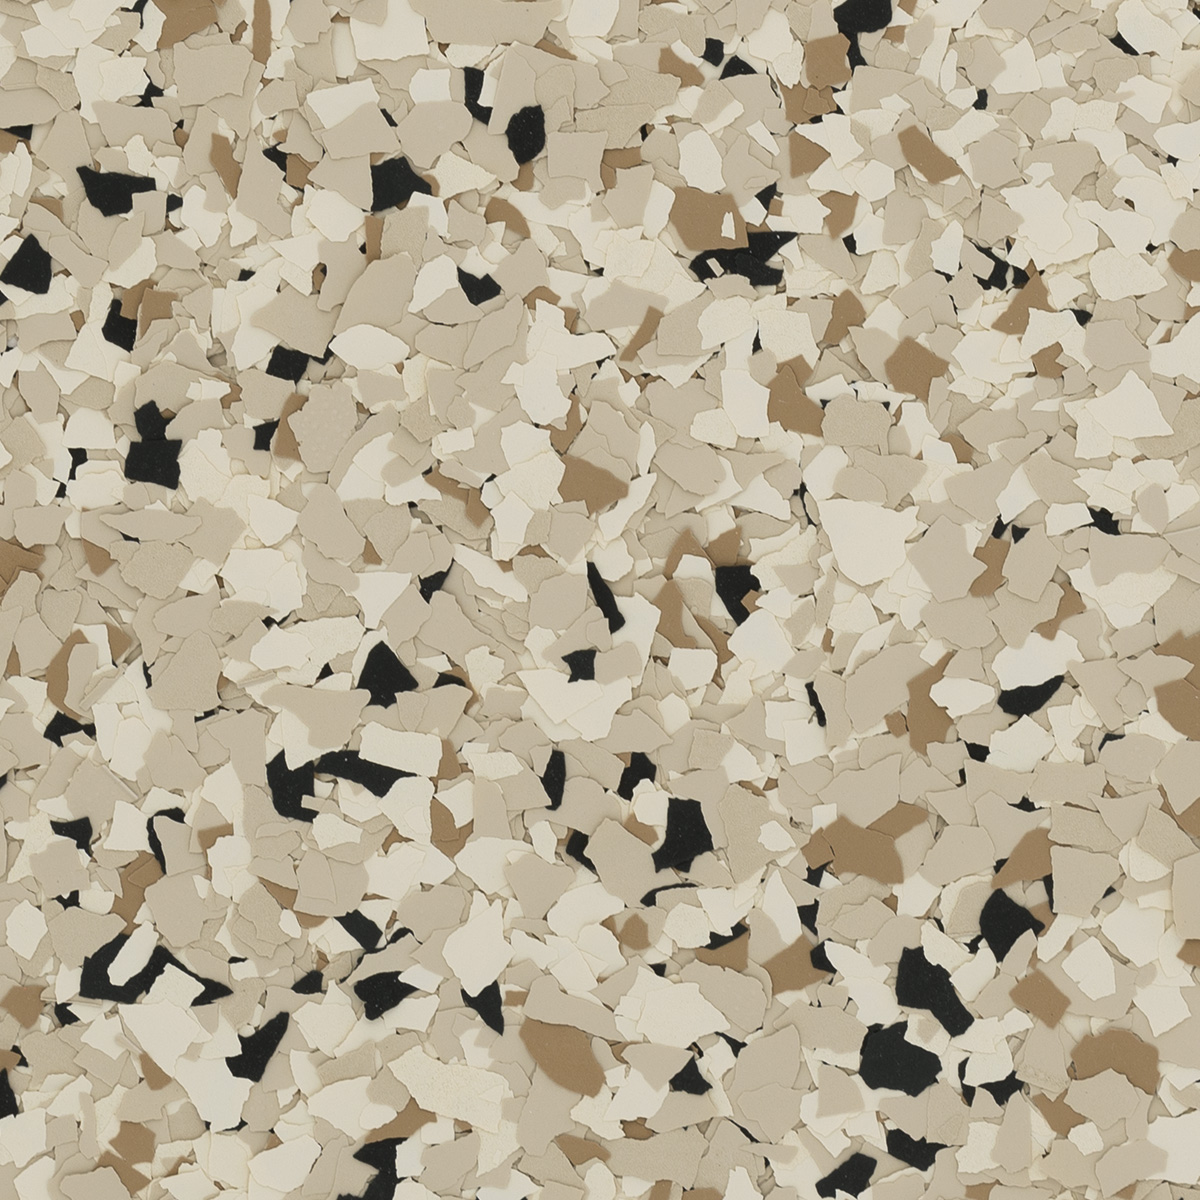
If your original was an Amazing Blend, those are still in production. Match by name (Stonehenge, Tuxedo, Sealmasters, etc.) and you will get the same color recipe out of the same factory. Browse the Amazing Blends to confirm your original blend is still active. For impossible matches (a discontinued blend from a defunct brand), the trick is to over-broadcast in the patch zone and then add 15% to 25% of the closest-match chips into the topcoat for the area around the patch. The sprinkled chips break up the eye’s ability to spot the patch border.
Bald spot patches use way more flake than you think because you have to broadcast to refusal. Plan on:
- 1 to 4 sq ft patch: 5 lb of flake minimum.
- 4 to 20 sq ft patch: 10 to 15 lb.
- 20+ sq ft patch: a full 20 lb box, and consider whether you should just redo the whole floor.
Excess flake is not wasted. Vacuumed-up clean chips go back into the bag for the next install or for accent work elsewhere. Order one box size up from what you think you need. The freight cost of a second small order usually exceeds the cost of the extra material.
Edge cases and when to give up patching
A few situations that trip up DIYers:
- Patch on a textured non-slip floor. The new patch will be smoother than the surrounding texture. Add anti-slip aggregate to your topcoat at the same loading the original used (usually 1 to 2 oz of polypropylene shark grip per gallon).
- Patch around a floor drain or expansion joint. Mask the joint with painter’s tape before rolling. Pull the tape within 30 minutes of broadcasting flake. Re-caulk the joint after full cure.
- Patch where a heavy item sat (refrigerator, tool chest). Wait at least 7 days post-recoat before placing weight back on the patch. The full polymer crosslink takes time even though the floor feels hard at 24 hours.
If more than 15% of the floor has bald spots, patches will look like a quilt no matter how well you re-topcoat. At that point, the cheaper move is a full flake recoat: scuff sand the whole floor, roll a fresh full base coat, broadcast a heavy blanket of flake, and re-topcoat. Material cost on a 2-car garage runs $300 to $500 in epoxy and flake, plus your weekend. The patch route is fine for 1 to 5 spots in a 2-car bay.
If you are getting flake on the order list, a 40 lb box of Garage Floor Flake covers ~160 sq ft full-refusal broadcast, which is enough to patch a fleet of spots or recoat a single bay. Ship times run 2 to 5 business days, and orders over $150 ship free. Made in Kansas City, MO since 2007.