Bubbles in newly poured epoxy are caused by air escaping from the concrete (outgassing), trapped air from over-aggressive mixing, or rising slab temperature pushing trapped air upward through the wet resin. Pop them within the first 20 minutes using a propane torch held 8 to 12 inches above the surface in a smooth sweeping motion. If the epoxy has already gelled, you cannot pop them: scuff sand the cured floor with 120 grit, vacuum, and recoat with a thinner self-leveling layer that flows over and buries the bubble craters. Most bubble problems trace back to pouring in the wrong part of the day.
The three sources of epoxy bubbles
Understanding the source tells you how to fix the current pour and prevent the next one:
- Concrete outgassing. Concrete has billions of microscopic air pockets. When you cap it with wet epoxy, the air expands as the slab warms through the day. The expanding air pushes up into the epoxy and forms bubbles. This is the most common cause, accounting for about 60% of bubble problems.
- Mixing-induced air. A drill paddle run at 1500+ RPM whips air into the mixed kit. The air is trapped in viscous resin and rises slowly during cure. Common when first-timers grab a fast paint mixer instead of a low-speed (300 to 600 RPM) jiffler-style epoxy paddle.
- Thermal cycling. Pouring on a cool morning slab that warms to afternoon temperature drives air upward as the substrate expands. Pouring on a warm slab that cools at night also pulls bubbles as the resin contracts faster than the air below.
Pour timing and how to pop bubbles in the wet window
Pour in the late afternoon or early evening on a falling temperature curve, not a rising one. A slab that is 80°F at 4 PM and cooling toward 70°F at 10 PM is outgassing in reverse: the slab pulls in slightly as it cools, and any air movement is downward. A slab that is 60°F at 7 AM and warming to 80°F by noon is in active outgassing mode and will push bubbles up through your wet film for hours.
This single change in scheduling eliminates more bubble callbacks than any product upgrade. The window matters. In summer heat, plan to start pouring around 4 PM and finish before sunset. In cooler shoulder seasons, start at noon or 1 PM after the slab has warmed and is now on a plateau or slight decline.
If bubbles appear within the first 20 to 30 minutes, you can knock them down:
- Propane torch pass. A standard plumber’s torch held 8 to 12 inches above the surface, moving in slow sweeping arcs. Do not stop and dwell, or you will scorch the resin. The heat lowers surface tension and the bubbles pop and self-level.
- Heat gun. For smaller pours, a heat gun on low works similarly. Keep it moving.
- Spike roller. A loop-spike roller pushes trapped air upward and lets it escape. Works best on self-leveling epoxy. Run it within 10 minutes of pouring.
Once epoxy has started to gel (around 30 to 45 minutes after mixing at 75°F), the torch will not pop the bubbles cleanly. You will leave craters with hardened rims that look worse than the bubbles. Stop torching the moment the resin starts to look skinned or stringy on the roller.
Fixing bubbles that already cured
If the floor cured with hundreds of pinhole bubbles or craters, the fix is mechanical plus a re-coat:
- Scuff sand with 120 grit. Random orbit sander or a buffer with a sanding screen. Knock down the raised bubble rims and dull the gloss. About 30 minutes for a 2-car garage.
- Vacuum and alcohol wipe. Clean the surface thoroughly with denatured alcohol on white cotton rags.
- Roll a fresh self-leveling topcoat. Thin enough to flow into the bubble craters (4 to 6 mils wet). Polyaspartic works well here because of its long flow time and good self-leveling. Standard 100% solids epoxy works too if you pour and back-roll.
- Torch the new coat in the working window. Do not skip this on coat 2 or you will bubble again.
Prevention: degassing primer and mixing technique
The pro move is a sacrificial “degassing coat” that fills the concrete pores so the next coat does not get pushed off. Diamond grind to CSP 3 profile and vacuum. Roll a thin primer coat: 100% solids epoxy primer at 4 to 6 mils wet. This fills concrete pores and seals outgassing. Cures in 16 to 24 hours. Then roll the full base coat at 8 to 10 mils and broadcast flake to refusal. Finish with polyaspartic at 4 to 6 mils.
The primer coat is the bubble killer. Roll it at the end of the day when the slab is cooling. By the next morning, the concrete is sealed and the base coat lays flat. This adds $0.40 to $0.60 per square foot to material cost but eliminates the bubble lottery.
The right mixing paddle and speed:
- Use a low-speed corded drill (300 to 600 RPM). High-speed cordless drills are too fast.
- Use a jiffler-style epoxy paddle (the cage-style ones, not a flat paint stirrer).
- Keep the paddle submerged the entire time. Lift it out and you whip air into the mix.
- Mix 3 full minutes, scraping the sides and bottom at 90 seconds and 2:30.
- Box the mix (pour into a second clean bucket and re-mix 30 seconds). This eliminates unmixed material on the sides without adding much air.
- Let the mix rest 60 seconds before pouring. Macro-bubbles rise to the surface and pop on their own.
If you are pouring multiple kits in sequence, dedicate one bucket per kit and toss the used buckets. Cross-contamination from a partially-cured residue on a re-used bucket adds nucleation sites for bubbles in the next batch.
Bubbles vs fisheyes vs pinholes, and slab age
Easy to confuse, three different causes:
- Bubbles: raised domes or popped craters with smooth rims. Cause is outgassing or trapped air.
- Fisheyes: round depressions with glossy rims where the resin pulled back from a contaminated spot. Cause is silicone or oil contamination.
- Pinholes: tiny black or gray dots where a single bubble popped and exposed the concrete below. Cause is severe outgassing or moisture vapor escaping.
Pinholes are the worst because they indicate moisture, which is a longer-term failure risk. Run a plastic sheet moisture test before recoating. If moisture transmission is above 5 lb / 1000 sq ft / 24 hr, use a moisture vapor barrier primer before the next coat.
New concrete (under 60 days old) bubbles dramatically more than aged concrete because it still contains free water from the original pour and curing reaction. The rule of thumb is 1 day per millimeter of slab thickness as a minimum cure time. A 4 inch slab (about 100 mm) needs 100 days minimum to be coating-ready, ideally 6 months. Pouring epoxy at 30 days produces pinhole bubbles even with perfect prep. If you have a fresh slab and cannot wait, use a moisture-tolerant epoxy primer rated for green concrete, run a heavy degassing primer pass, and accept that you may need a second topcoat to bury the residual pinholes.
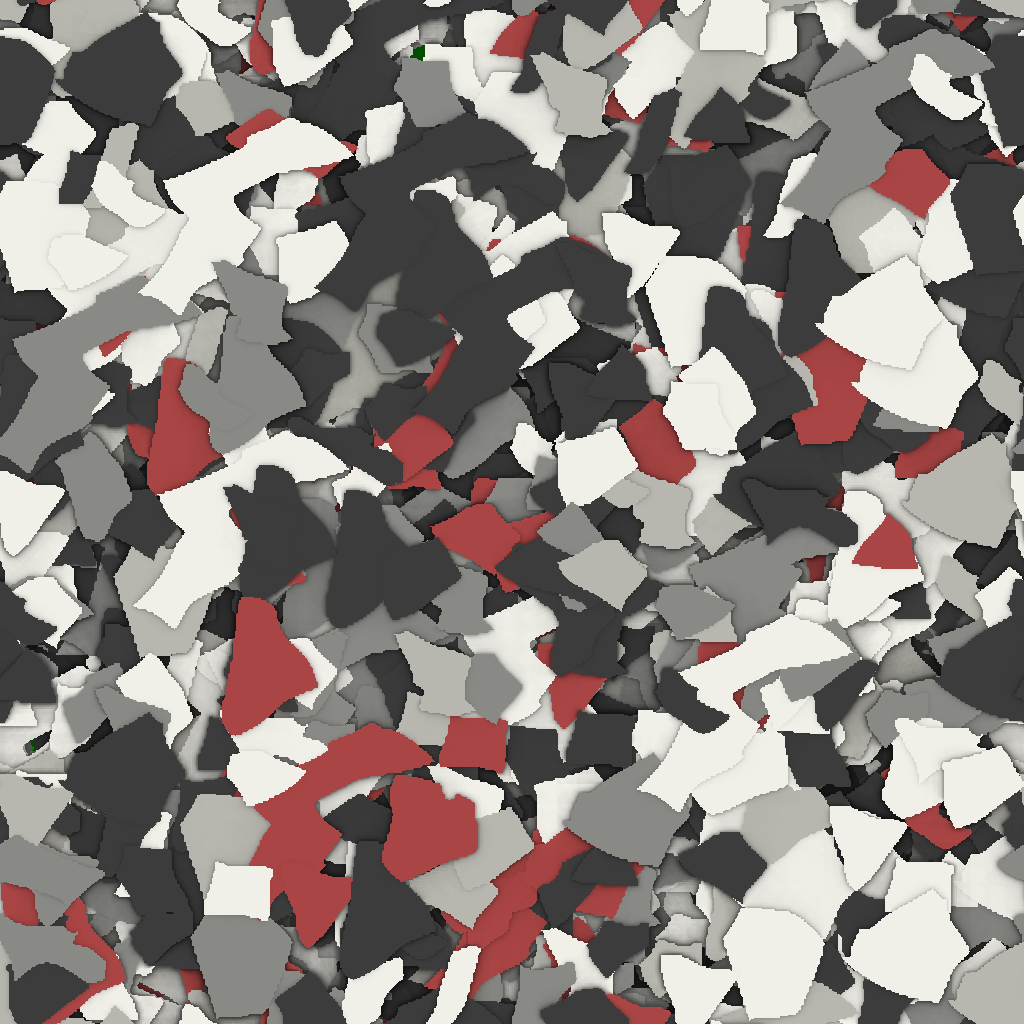
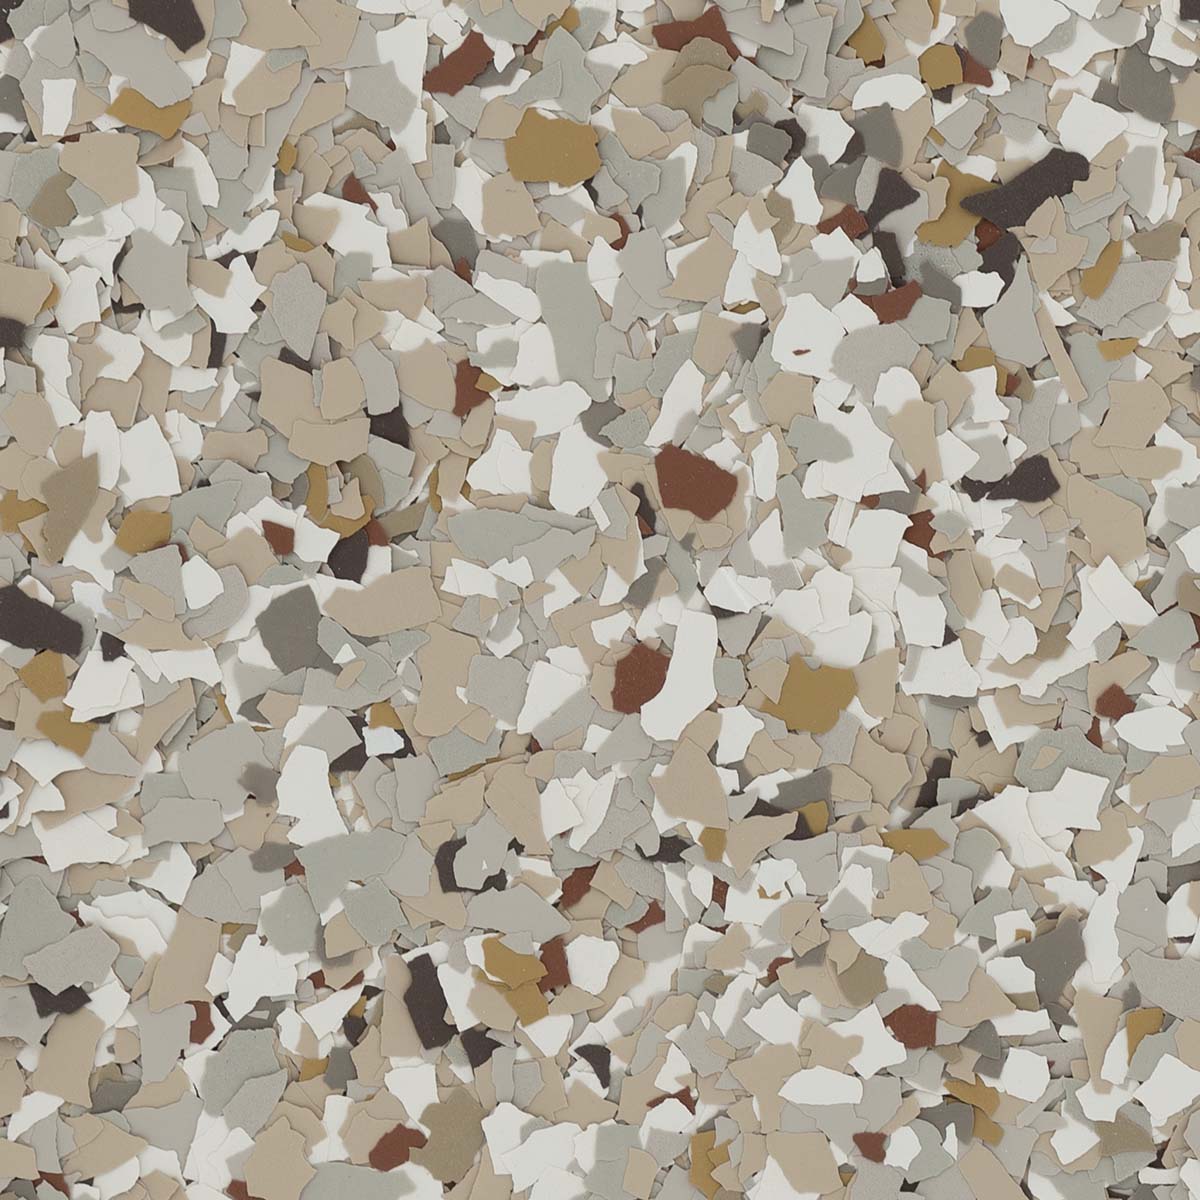
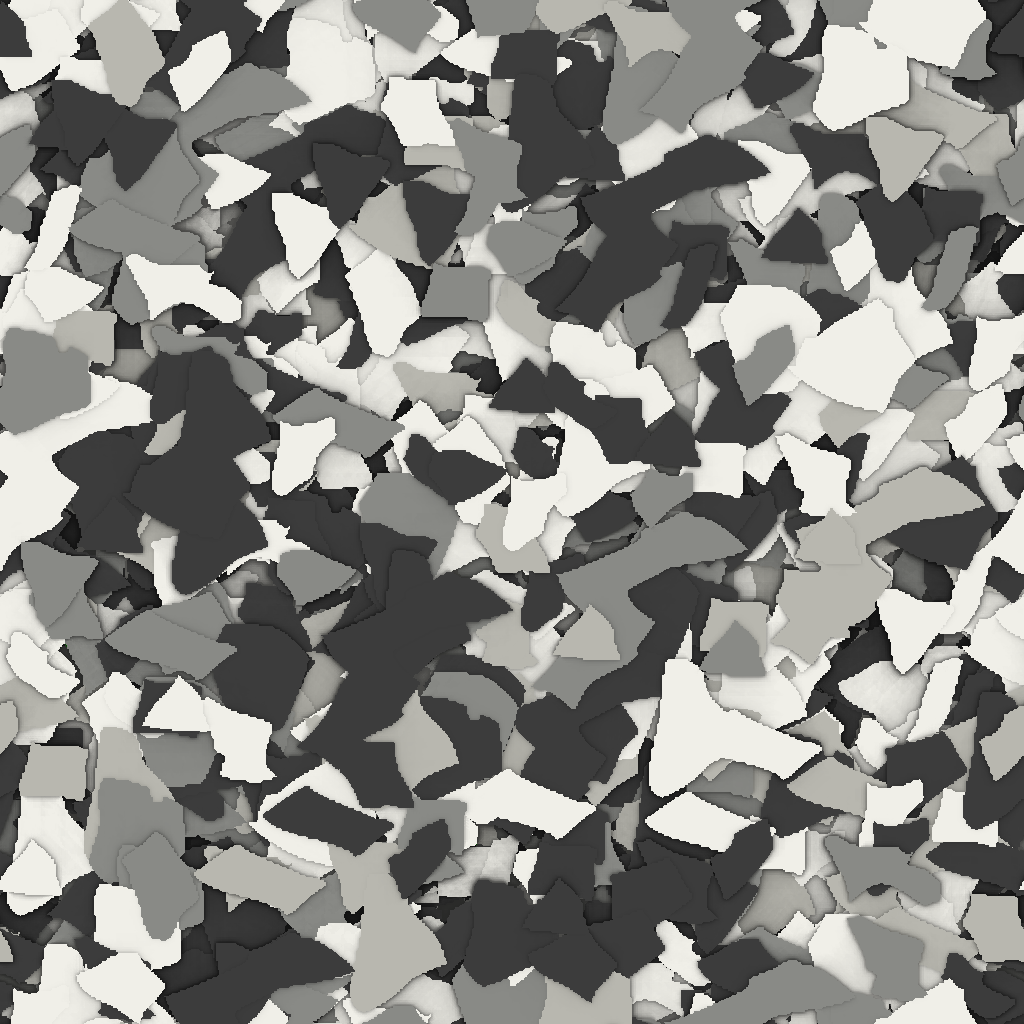
For most weekend installs in a 2-car garage, the bubble problem disappears once you pour on a cooling slab in the late afternoon, use a low-speed paddle, and torch the wet film within 20 minutes. Decorative flake also hides minor bubble craters because the broadcast covers 95%+ of the surface. A blend with visual texture like Stonehenge or Tuxedo from the Amazing Blends masks craters far better than a solid color base. A 40 lb box of flake covers ~160 sq ft full refusal, enough for a 2-car bay plus margin.